It’s no secret that I am not the best photographer – you can always tell when Dave has taken a picture rather than me, simply due to the straightness! It’s something I love, but don’t have the knowledge or skills. Hopefully I will improve. But for now, Max has kindly contributed this guest post of Smartphone Photography Tips.
These days just about every backpacker travels with a smartphone. That means that you always have a camera just a hand’s reach away from you. And while smartphone cameras can’t really match dedicated cameras in the arenas of low-light or long exposure photography, they can still get fantastic, professional-looking photos under many other conditions. Of course, if you’re wanting to get more serious with your travel photography, you’ll probably still want to upgrade to a dedicated camera. But for many us backpackers, using our smartphones as our camera makes a lot of sense. So if you’re someone for whom making room in your pack for a DSLR or a mirrorless camera is just a no go, don’t despair. You can still take great photos. These tips will get you started.
The Basics
The Camera
Whether you’re travelling with a cheap travel phone that you just bought for the trip or one of the latest and greatest models, getting to know what your phone camera can do is the first step to getting great photos. Even phenomenal phone cameras such as the Google Pixel 2, Samsung Galaxy S9, and iPhone 8, don’t always take great photos in auto mode, and learning the different camera options (and practicing with them a lot) will help you know which to use to get the photos you’re really looking for.
The Modes
HDR Mode On A Smartphone
Use the HDR mode when there are dark shadows and bright highlights together in the same photo. Or simply when you want your photo to include more of the visual spectrum.
Even the cheapest smartphone comes with at least a couple of different camera modes. The more basic modes are portrait, landscape, sport shot, sequence/burst mode, HDR, and panorama. All of these will probably be useful at some point in your trip, so spend some time practicing with each of them. The more you experiment with the different modes, the easier it will be to know which to choose. If your camera has manual or “pro” mode, you’ll need more practice to get it to work well, but the results will be well worth it.
Pro Tip #1: You change one or more settings while keeping the rest automated on the more expensive phones like the Galaxy S9. That will allow you to pick and choose which settings matter to you and let your camera do the rest of the work.
Pro Tip #2: Want to use manual mode but your camera doesn’t have one? Or have an iPhone that will only allow you to change the focus and exposure, but not things like aperture? Check out apps like Manual, VSCO, and Camera Pro. They work really well on most phones.
Important Settings
Check these settings before you begin taking photos.
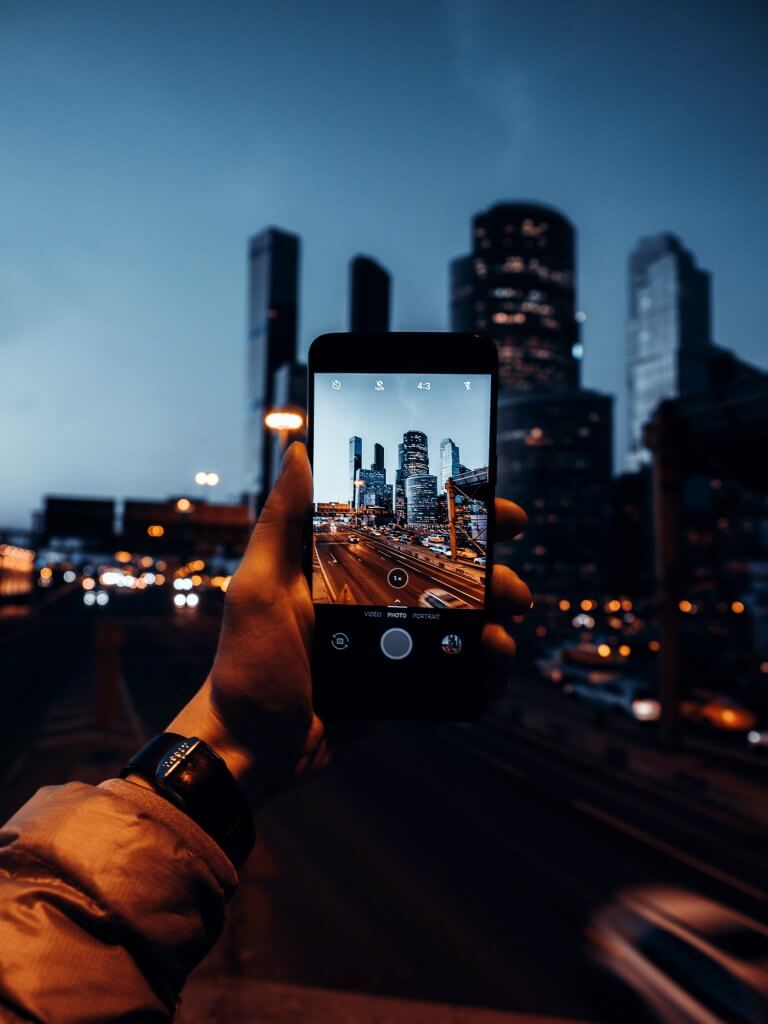
Choose the Correct Aspect Ratio
You’ve probably noticed that your phone comes with different aspect ratio sizes. Which one you choose depends on what you’ll be using the images for, but unless you’re planning on printing out your photos, stick with 16:9. It creates a “widescreen” effect and is therefore ideal for screen use (computer/phone/etc.).
Use High Resolution
The more resolution you have in your photo, the greater its detail and quality. The default resolution setting in many phones is designed to help with digital zooming. But since digital zooming is pretty worthless (I’ll explain later), it’s best to go in and change this. Well, unless you’re running low on memory.
Shoot In RAW
If your smartphone allows you to shoot in RAW mode and you’re willing to do some basic editing to your photos, use it. You can also download third-party camera app that allow you to shoot in Raw. RAW files capture all of the information your camera sensor has to offer, while Jpegs only offer an edited, compressed version of the photo that seriously limits your editing options later. Shooting in RAW (and editing) will help you bring out images’ true beauty, far beyond what you can do with a Jpeg. You’ll definitely need a micro-SD card, though, as RAW files are rather large. (They’re uncompressed, after all.) You’ll also need an editing app that can read RAW files. But they’re not hard to come by. There are plenty of both free and premium out there.
Quick Tips
Take these steps to make sure your photos look their best.
Clean Your Lens
Unlike dedicated cameras, smartphones don’t come with camera lenses. That means it’s rolling around in your pocket or purse, getting all sorts of lint, dust, and dirt on it. And while you could take the time to edit out some of the dirt with editing programs, it’s much better to start with a clean lens. A microfibre cloth works great — especially if you get one made for optics. Avoid using your t-shirt or other cloth-type materials. Most of them are likely to scratch the lens.

Select Your Focus
Intentionally Set The Focus
While your auto-focus might work well much of the time, there will still be plenty of times when your smartphone’s autofocus just won’t go where you want it to. If your phone has selective focus, fixing that is pretty simple. Simply turn to selective focus (on some phones it’s the icon with the two heads, one in front of the other) and tap on the part of the image you want to be in focus. If your phone doesn’t have selective focus and/or your photo still didn’t come out with the focus you intended, you can always use apps like AfterFocus or Big Lens to help you select the focus in post-processing.
Pro Tip #3: Pro mode will let you control all aspects of focus.
Drop The Digital Zoom
Unlike optical zoom, digital zoom is really more of an optical illusion. The image will look bigger on your screen, but it’s really just a cropped version of the whole image. The end result is just a pre-cropped image with fewer pixels that takes all of the cropping control out of your hands. If you need to zoom, use your feet (i.e. move closer).
Ditch The Flash
Have you ever seen the flash on your phone’s camera really turn out a decent photo? I haven’t. If you want more exposure, use your phones settings (it if will let you). Or try shooting in HDR mode so that you get a greater range of exposure.

A Tripod Will Really Help To Keep The Phone Steady
If you’re serious about using your smartphone for photography, invest in a light travel tripod with a phone attachment.
Keep Your Camera Steady
Smartphones are really hard to keep steady. Even if your phone has image stabilisation, it’s not really going to help much when it comes to taking shots in low-light conditions where your camera will need to take more time to get the shot properly exposed. But even quick snaps can benefit from quick stabilising tactics like leaning against something steady, using both hands, and click the shutter at the end of your out breath. If you want to do night photography or other long exposure forms, you’ll need a tripod or other smartphone stabiliser. My favourite one is the GorillaPod. It fits in a daypack can can be moulded to cling to just about anything.
Pro Tip #4: The volume control on your headset can serve as a remote shutter release button for most phones! Just make sure that your headset has a physical button for volume control (not a slider) and is physically connected to your phone. (Sorry Bluetooth users.) Tapping the screen will definitely add in camera shake (unless you’re using an app with a timer), so if you can use the headset, do it!
Pro Tip #5: If you have an iPhone and have a tripod, try using iPhone Live for your long-exposure images. Just swipe up and then find “Long Exposure” among the effects.
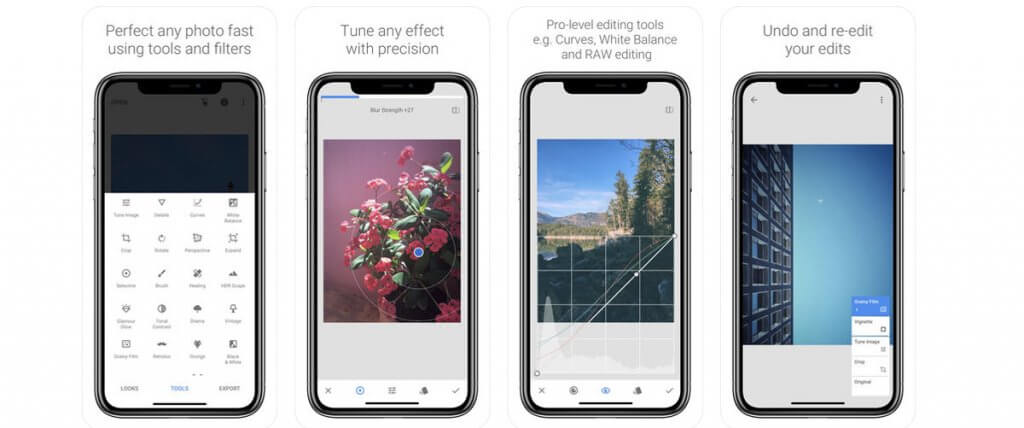
Snapseed Can Be Used For Editing
Apps like Snapseed can give you full control over your final image
Learn To Edit
Often much of the difference between a good photo and an awesome one is what happens after you take the photo. Editing your photos will allow to make all the corrections you need (i.e. levelling your horizon or correcting the exposure). Of course, you can also take it further than basic corrections and add some creative flair. It’s up to you. But learning basic photo editing will really up the quality of your photos considerably. (If you’re shooting in RAW, you’ll need to use a photo editor.) The most common (free) app for post-processing on your phone is Snapseed. If you want something more advanced and you’ll only be using your phone for editing, Afterlight is awesome (though not free). If you’re travelling with a laptop, photo editors such as Lightroom or Luminar are some of the better ones.
If you master these tips and still want to learn more, check out some of the basic photo composition tips like, the rule of thirds, leading lines, visual weight, etc. Those are all the next level up in capturing an excellent photo. But until then, get to know your camera and its moods, I mean modes, and learn a bit about editing. These will get you farther down the road to taking some great smartphone travel photos.

2 Comments
Absolutely love these tips! Smartphones have truly democratized photography, and your article highlights how to make the most of this everyday tool. The emphasis on framing, angles, and maximizing available light is key. I’ve noticed a significant improvement in my photos by simply paying attention to these details. Your reminder to clean the lens regularly is often overlooked but makes a huge difference. Additionally, exploring manual settings and third-party apps has opened up a whole new world of possibilities. Kudos for spreading the joy of smartphone photography – it’s an art accessible to all.
Glad you found the tips helpful! I can’t take credit for the tips though; this is a guest post! I’ll make sure they hear your kind words though 🙂